
How to make professional product photos with no photography skills and a $0 budget
If you sell products online then a part of your success depends on great quality product photos, this article is for you.
Look:
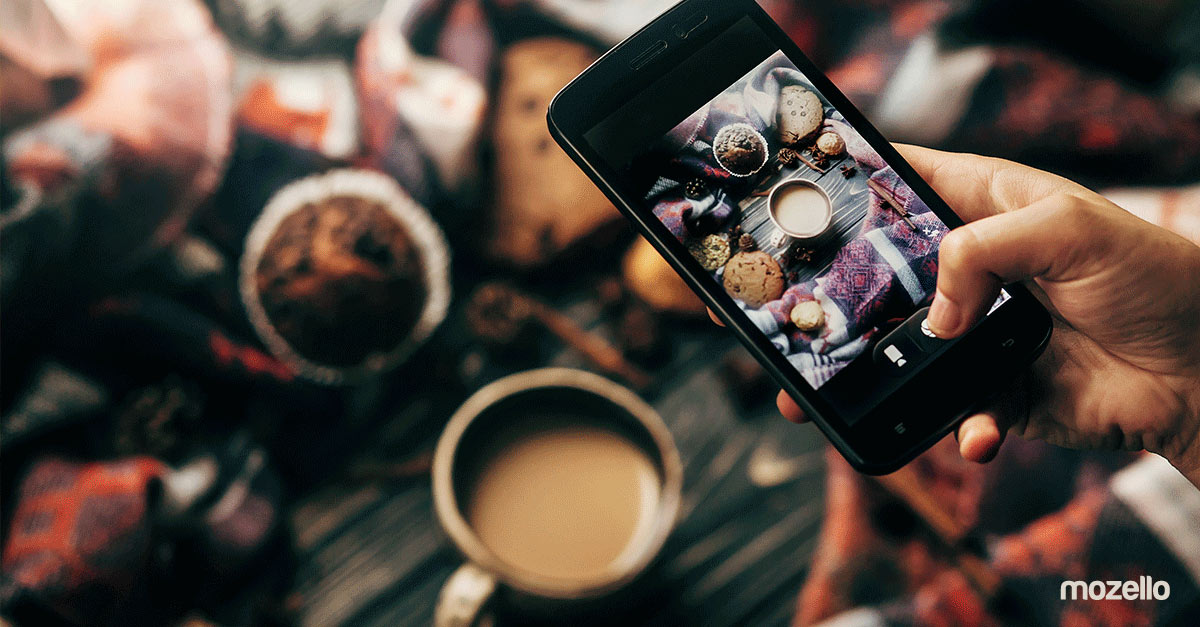
When it comes to online shopping, visual appearance matters. In fact, studies show that 93% of online shoppers find high-quality visuals to be the critical factor in making the purchasing decision.
What's more, professional images also make you and your brand look more trustworthy and make people perceive your products as more valuable. Stats even show that people are more likely to buy from websites with high-quality product photos.
Now, this post is the only crash course you need to make perfect product photos for your website or online store, with any camera, and at home.
Here's what you'll learn:
- how to prepare for a photoshoot (aka, what gear you need)
- how to build your photoshoot set
- how to prepare your product for a photoshoot
- how to photograph your products
- how to edit your product photos
Let's get started!
How to prepare for a photoshoot
To make great product photos, you don't need a studio and expensive gadgets. In fact, many things you'll need, you can probably find around the house or buy for small money at any hardware or stationery store.
Here's what you'll need for a product photoshoot at home:
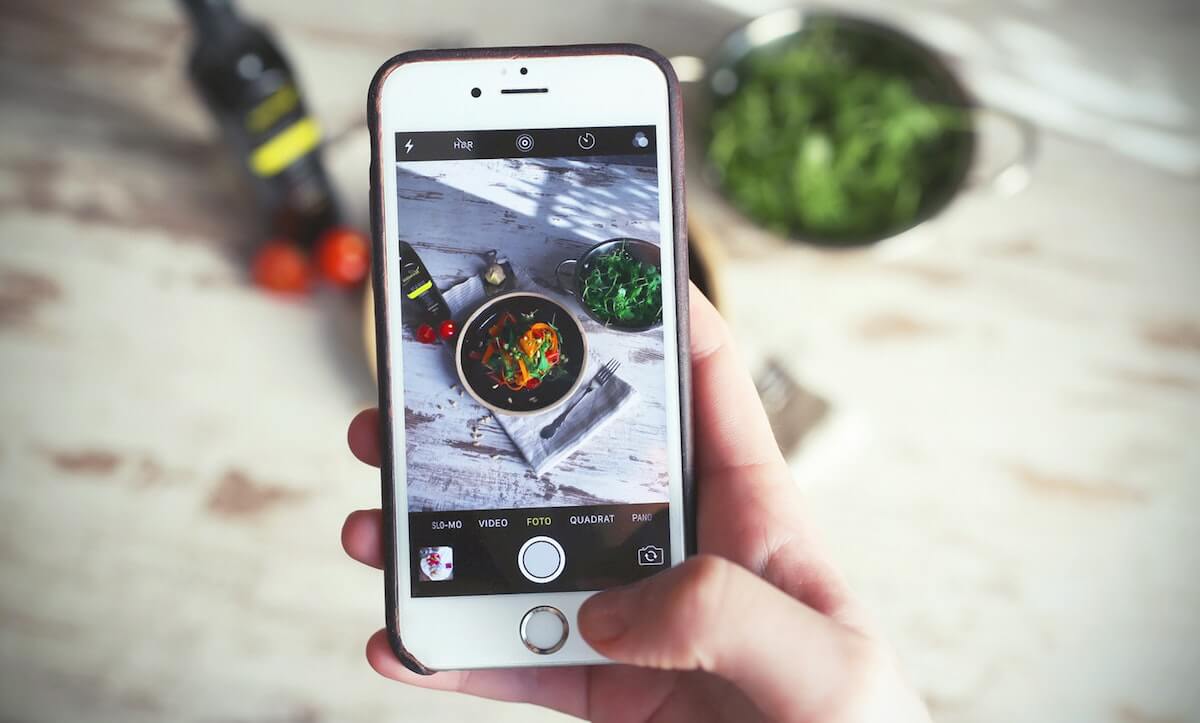
- A camera - any camera that you feel comfortable with, from a digital camera to your phone camera (Samsung Galaxy S9 Plus, Huawei Mate 10 Pro and Apple iPhone X are considered to have the best cameras at the moment.)
- A backdrop - a solid-color matte paper or poster (for smaller objects) or a piece of fabric, like canvas (for larger objects.) Depending on your concept, you can also use more creative backgrounds for your photos, like wooden boards or marble countertops.
Pro tip:
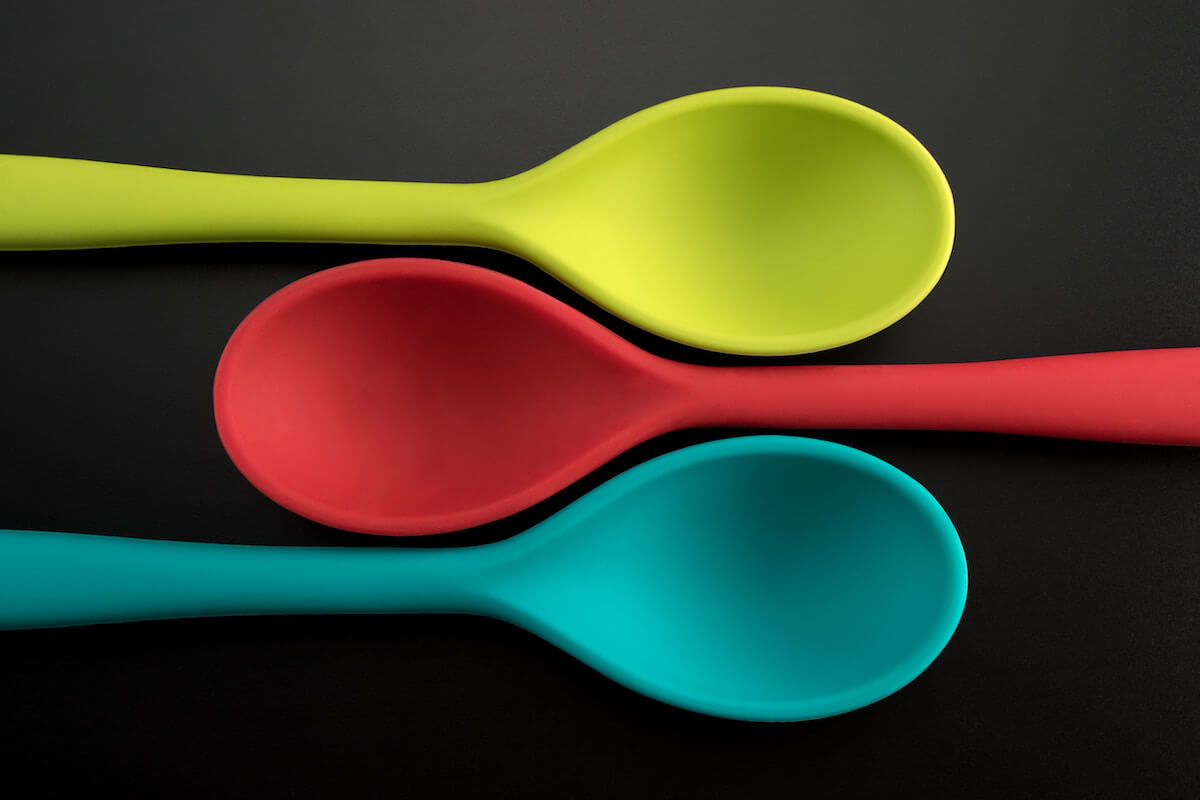
If your product has details to highlight, make sure that the color of your backdrop doesn't contrast too much with the color of your product. That may sound counterintuitive, but big contrasts may make the details disappear. Instead, choose less contrastive backdrop and use light reflectors.
- Lighting - make use of natural light and shoot your photos near the window during daytime.
- Light reflector - a white poster that you'll use to bounce the light back to your product.
- A table to build your set on.
- A box or a pile of books and a tape to hold up your backdrop, unless your set is against the wall.
Here's what your set should look like:
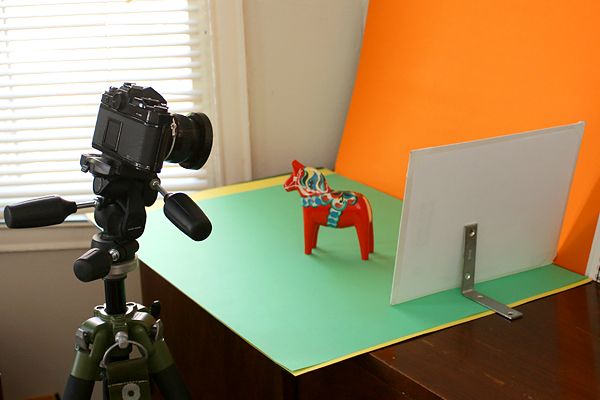
Image source: Photojojo
As a backup if the access to daylight is limited, you can build a DIY photography lightbox (it'll cost you under $15!) If you use a lightbox, get two of the same LED lamps so that the light color and intensity is the same. Also, for convenience, choose lamps that can be clipped to the table.
Some more things that are optional:
- A step stool if you're shooting your products from above.
- A tripod to help you prevent blurry images.
- A white sheet to cover the window if the natural light is too bright.
- Styling tools (pins, clips, tapes, fun tack, etc.) to make your product look at its best, as well as different styling elements if you're planning to make lifestyle-looking photos.
How to build your photoshoot set
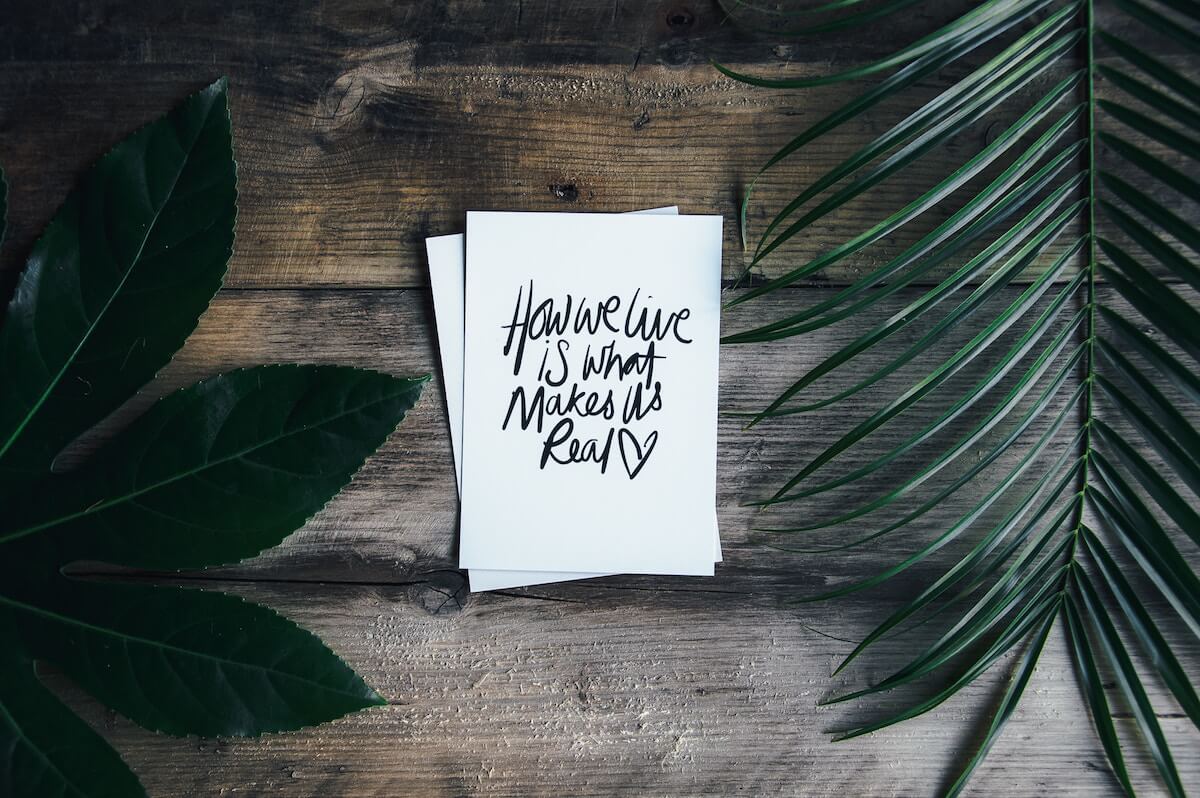
Before you build your set, you should first decide what type of photos you want to make - flat lay or seamless paper photography. The decision usually depends on the product.
Seamless photography means using a backdrop that consists of a single sheet of paper (or fabric) with no seams or lines. The backdrop goes behind and under the product, creating a seamless background. This type of photography is usually used for dimensional products, such as hats, cups, plants, etc.
Flat lay photography, on the other hand, means shooting products from above when the product lies flat on the floor/background. This type of photography is used for flat products, like t-shirts, notebooks, postcards, etc.
When you've decided which photography type is best for your product, you can build the set accordingly:
- For the seamless photography, set up the seamless backdrop on a table close to the window, or set up your DIY lightbox with lamps.
- For the flat lay photography, place the background paper on the ground in the doorway or prepare a step stool if you're shooting your product on a table.
How to prepare your product for a photoshoot
Always make sure you make your product look perfect before you shoot it. Because all the imperfections will be clearly visible in the photos when the product is zoomed in and exposed to lights.
Don't be lazy - it's easier and faster to make your product picture-perfect before the photoshoot than correct flaws with photo editing programs.
So, depending on what your product is:
- Wash it
- Polish it
- Iron it
- Re-fluff it
- Remove dust or lint
- Etc.
How to photograph your products
So, here you are - with the photoshoot set built and your product is looking all nice and perfect. It's finally time to take some photos!
First, place your product in the set and adjust lighting or product positioning. For example, if the light is too bright, you may want to cover the window with a white sheet to soften it.
Or if the product casts dark shadows, you may want to use another lamp that sheds light on the product from the back. Alternatively, this is where light reflectors come in handy, as they help you bounce the light back to the product and reduce shadows.
Pro tip:
If possible, connect your camera with your laptop, so that all the photos you take are instantly seen on a big screen. That's called tethering, and it helps to see all imperfections and what adjustments you have to make, so that you can do it while still shooting instead of when editing.
Next, when photographing (and later editing) your photos, pay attention to these three composition basics:
- Pay attention to symmetry, it'll make your product look more accurate and professional. For example, if you're shooting a long-sleeve shirt, make sure both sleeves are placed symmetrically to the neckline or hemline.
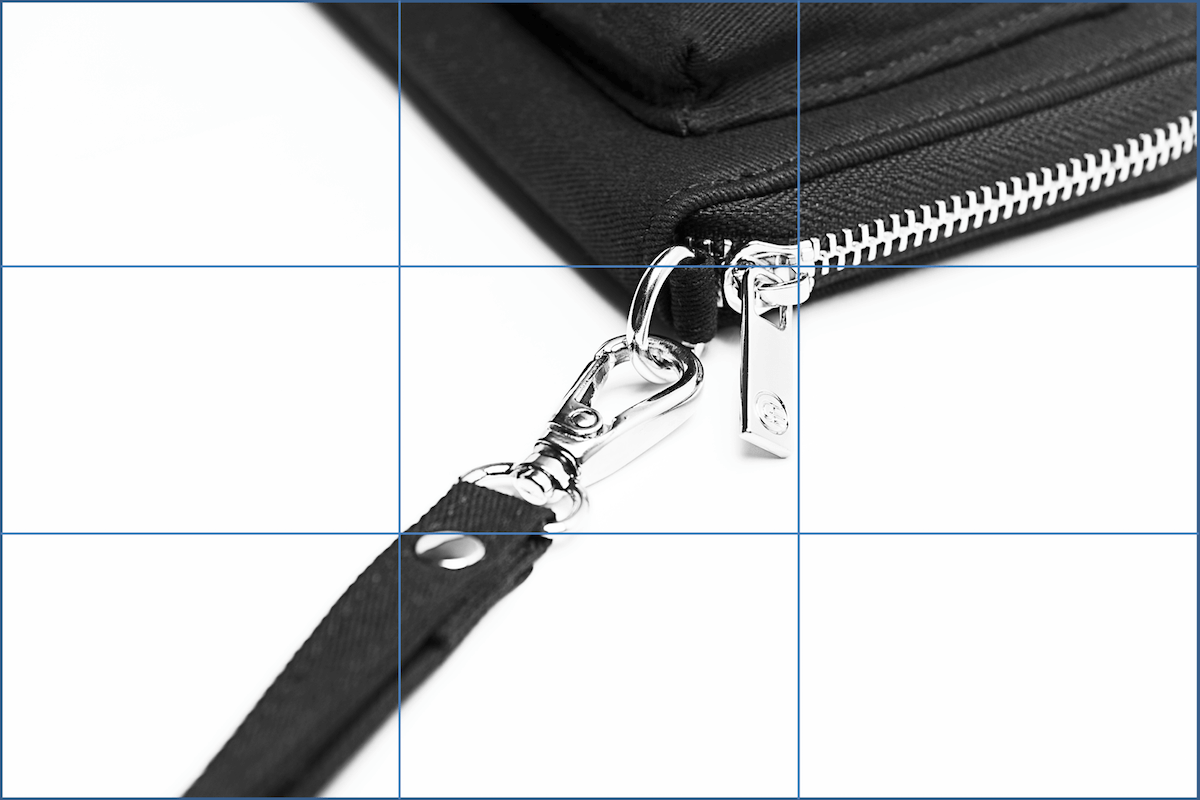
- Use the rule of thirds to draw attention to essential product details. That is, imagine your photo as divided into nine equal parts and make sure the important elements are placed along these lines.
- Leave negative space to make your product stand out. In other words, don't zoom in too much, but instead leave white space around the product, so that anyone who sees the photo knows what they should focus on.
Pro tip:
An experiment by ConversionXL An experiment by ConversionXL found that larger negative space makes people perceive products as more valuable and expensive when compared to images of the same product, but with less white space around it. Keep that in mind when shooting, cropping and editing your photos.
How to edit your photos
You can edit your photos with Photoshop or Illustrator - in fact, that's recommended for pro-quality product images for your website. If you own the programs, you probably have an idea how they work, but just in case - here's a very basic product photography tutorial in Photoshop.
Now, if you don't have access to Photoshop or Illustrator, or if you lack the skill for working with these programs, you can always use your phone editing tools and mobile apps as a backup.
Here are some apps that even professional photographers use:
- VSCO
- Snapseed
- Adobe Lightroom CC
- Afterlight 2
- Adobe Photoshop Express
When editing your photos on your phone, here are some basic adjustments you can make - step by step:
- Crop and straighten your image (keep in mind the law of thirds when doing it!)
- Sharpen your image to give it a pro-quality look.
- Adjust brightness.
- Reduce shadows.
- Add contrast to make the product pop.
- Adjust the exposure if the image still doesn't look bright enough.
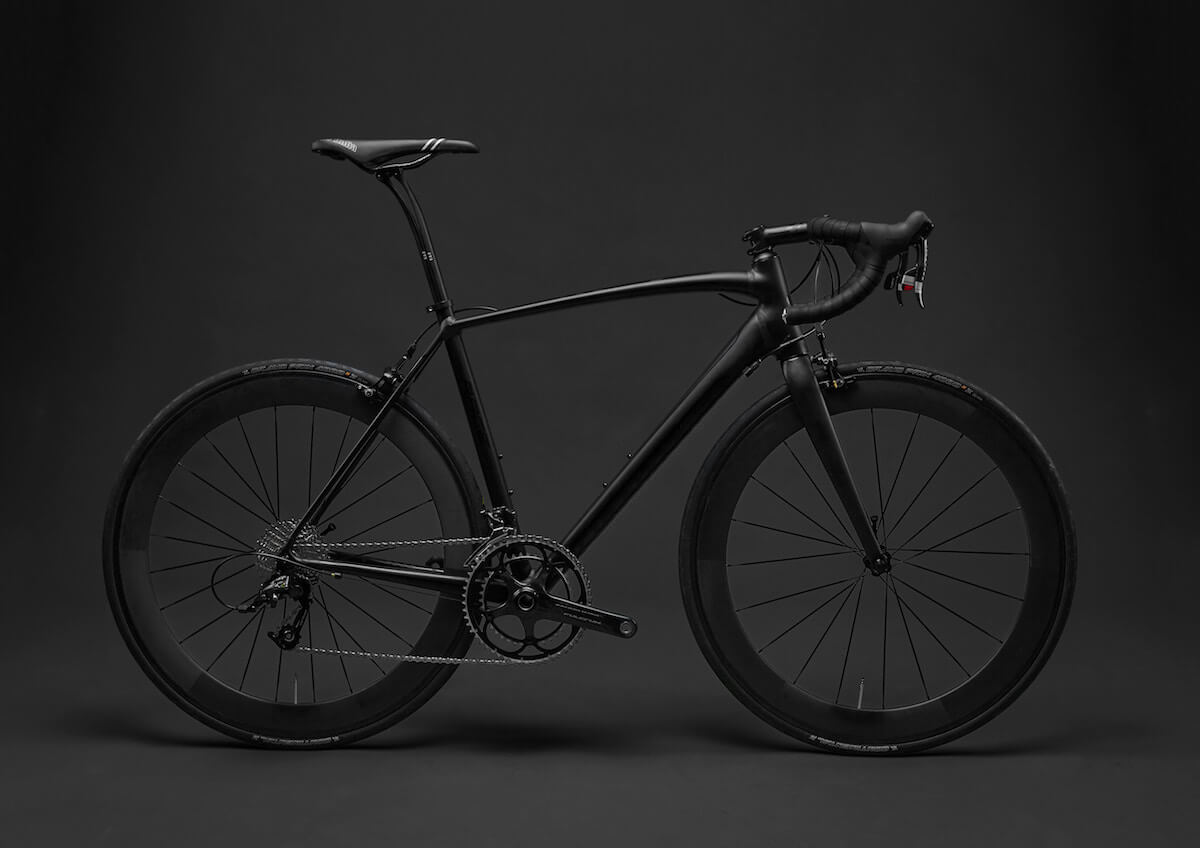
- Add vibrance to highlight details.
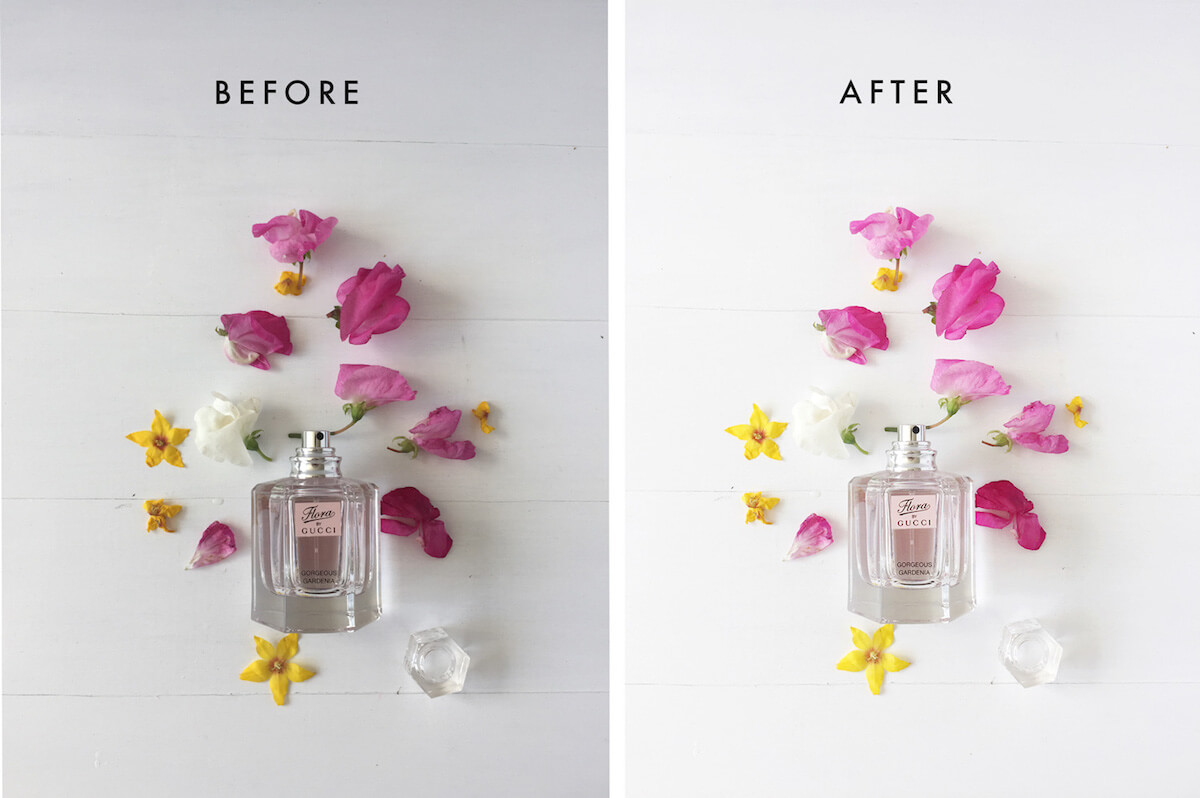
Image source: Pinkpot
Final words - be prepared and keep practicing
Preparation is crucial, so before you get to photo shooting, have a clear concept and use for the images in mind. That will help you get ready and make sure you have all tools and styling elements at hand when the photoshoot is in full swing.
And remember - practice makes perfect. Therefore, don't get discouraged if your first batch of photos isn't magazine-cover-ready. Just try different camera settings, lighting and editing options next time.